This post may contain affiliate links, or we may earn money from the companies mentioned in this post. For more information on this, please visit our legal page.
Even though I have some sewing experience (years of hubby’s socks, cycling jerseys, trousers and shirts can attest to that) I still consider myself a beginner in the art of the sewing.
I don’t own a sewing machine and I swear my eyes are a bit wonky when it comes to straight lines so I try to use little techniques to help make things look more presentable (The problem I have is that whatever I make is practical but chances are it does NOT look pretty).
Types of stitch – the basics
I predominantly use two types of stitch currently (these are the ones I feel most confident with, I will upload others when I feel happier with the end results). These are;
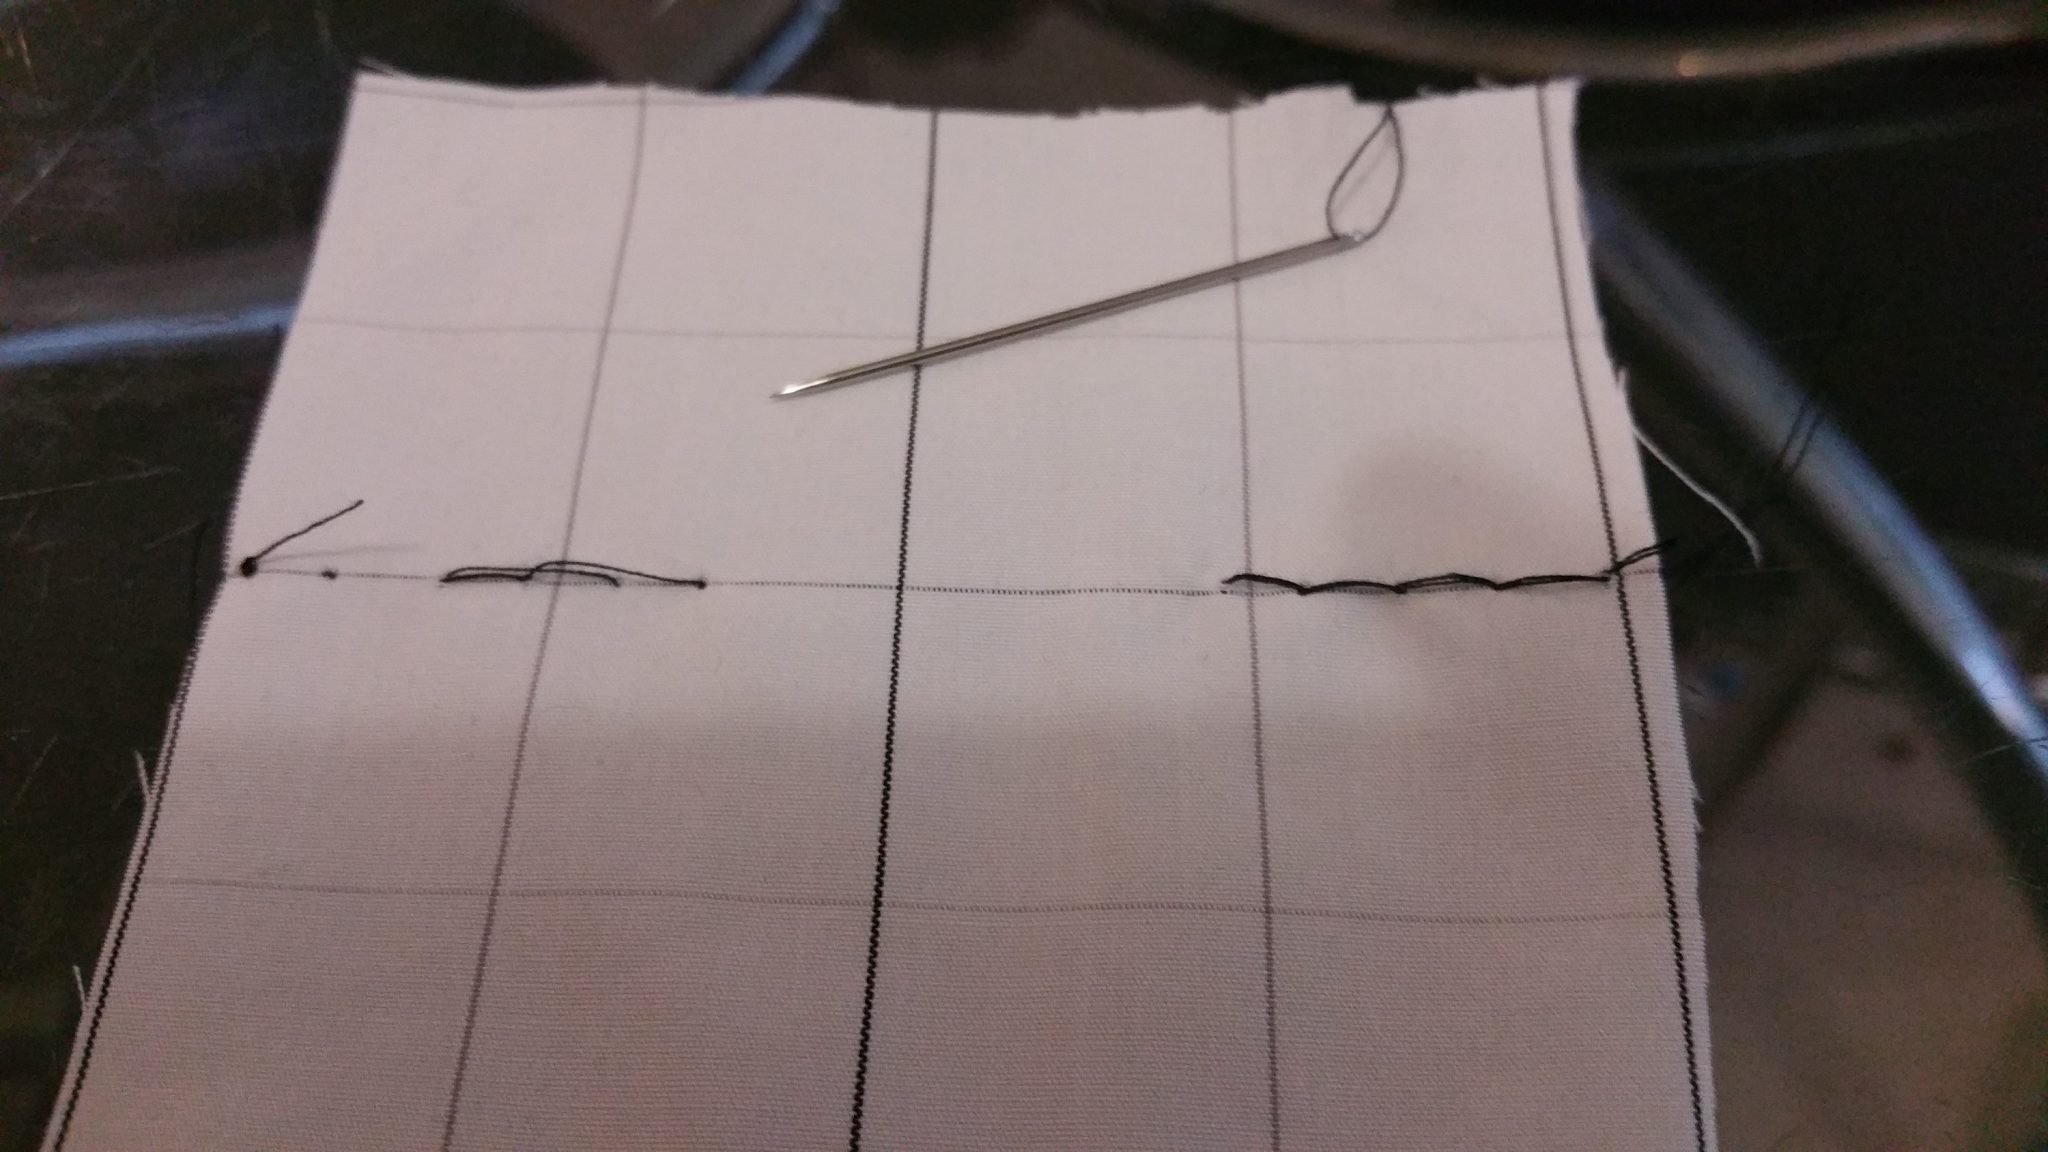
A Running Stitch – This is the neater of the two stitches as it looks the same from both sides – it requires a bit of concentration to make sure you’re joining up the right places
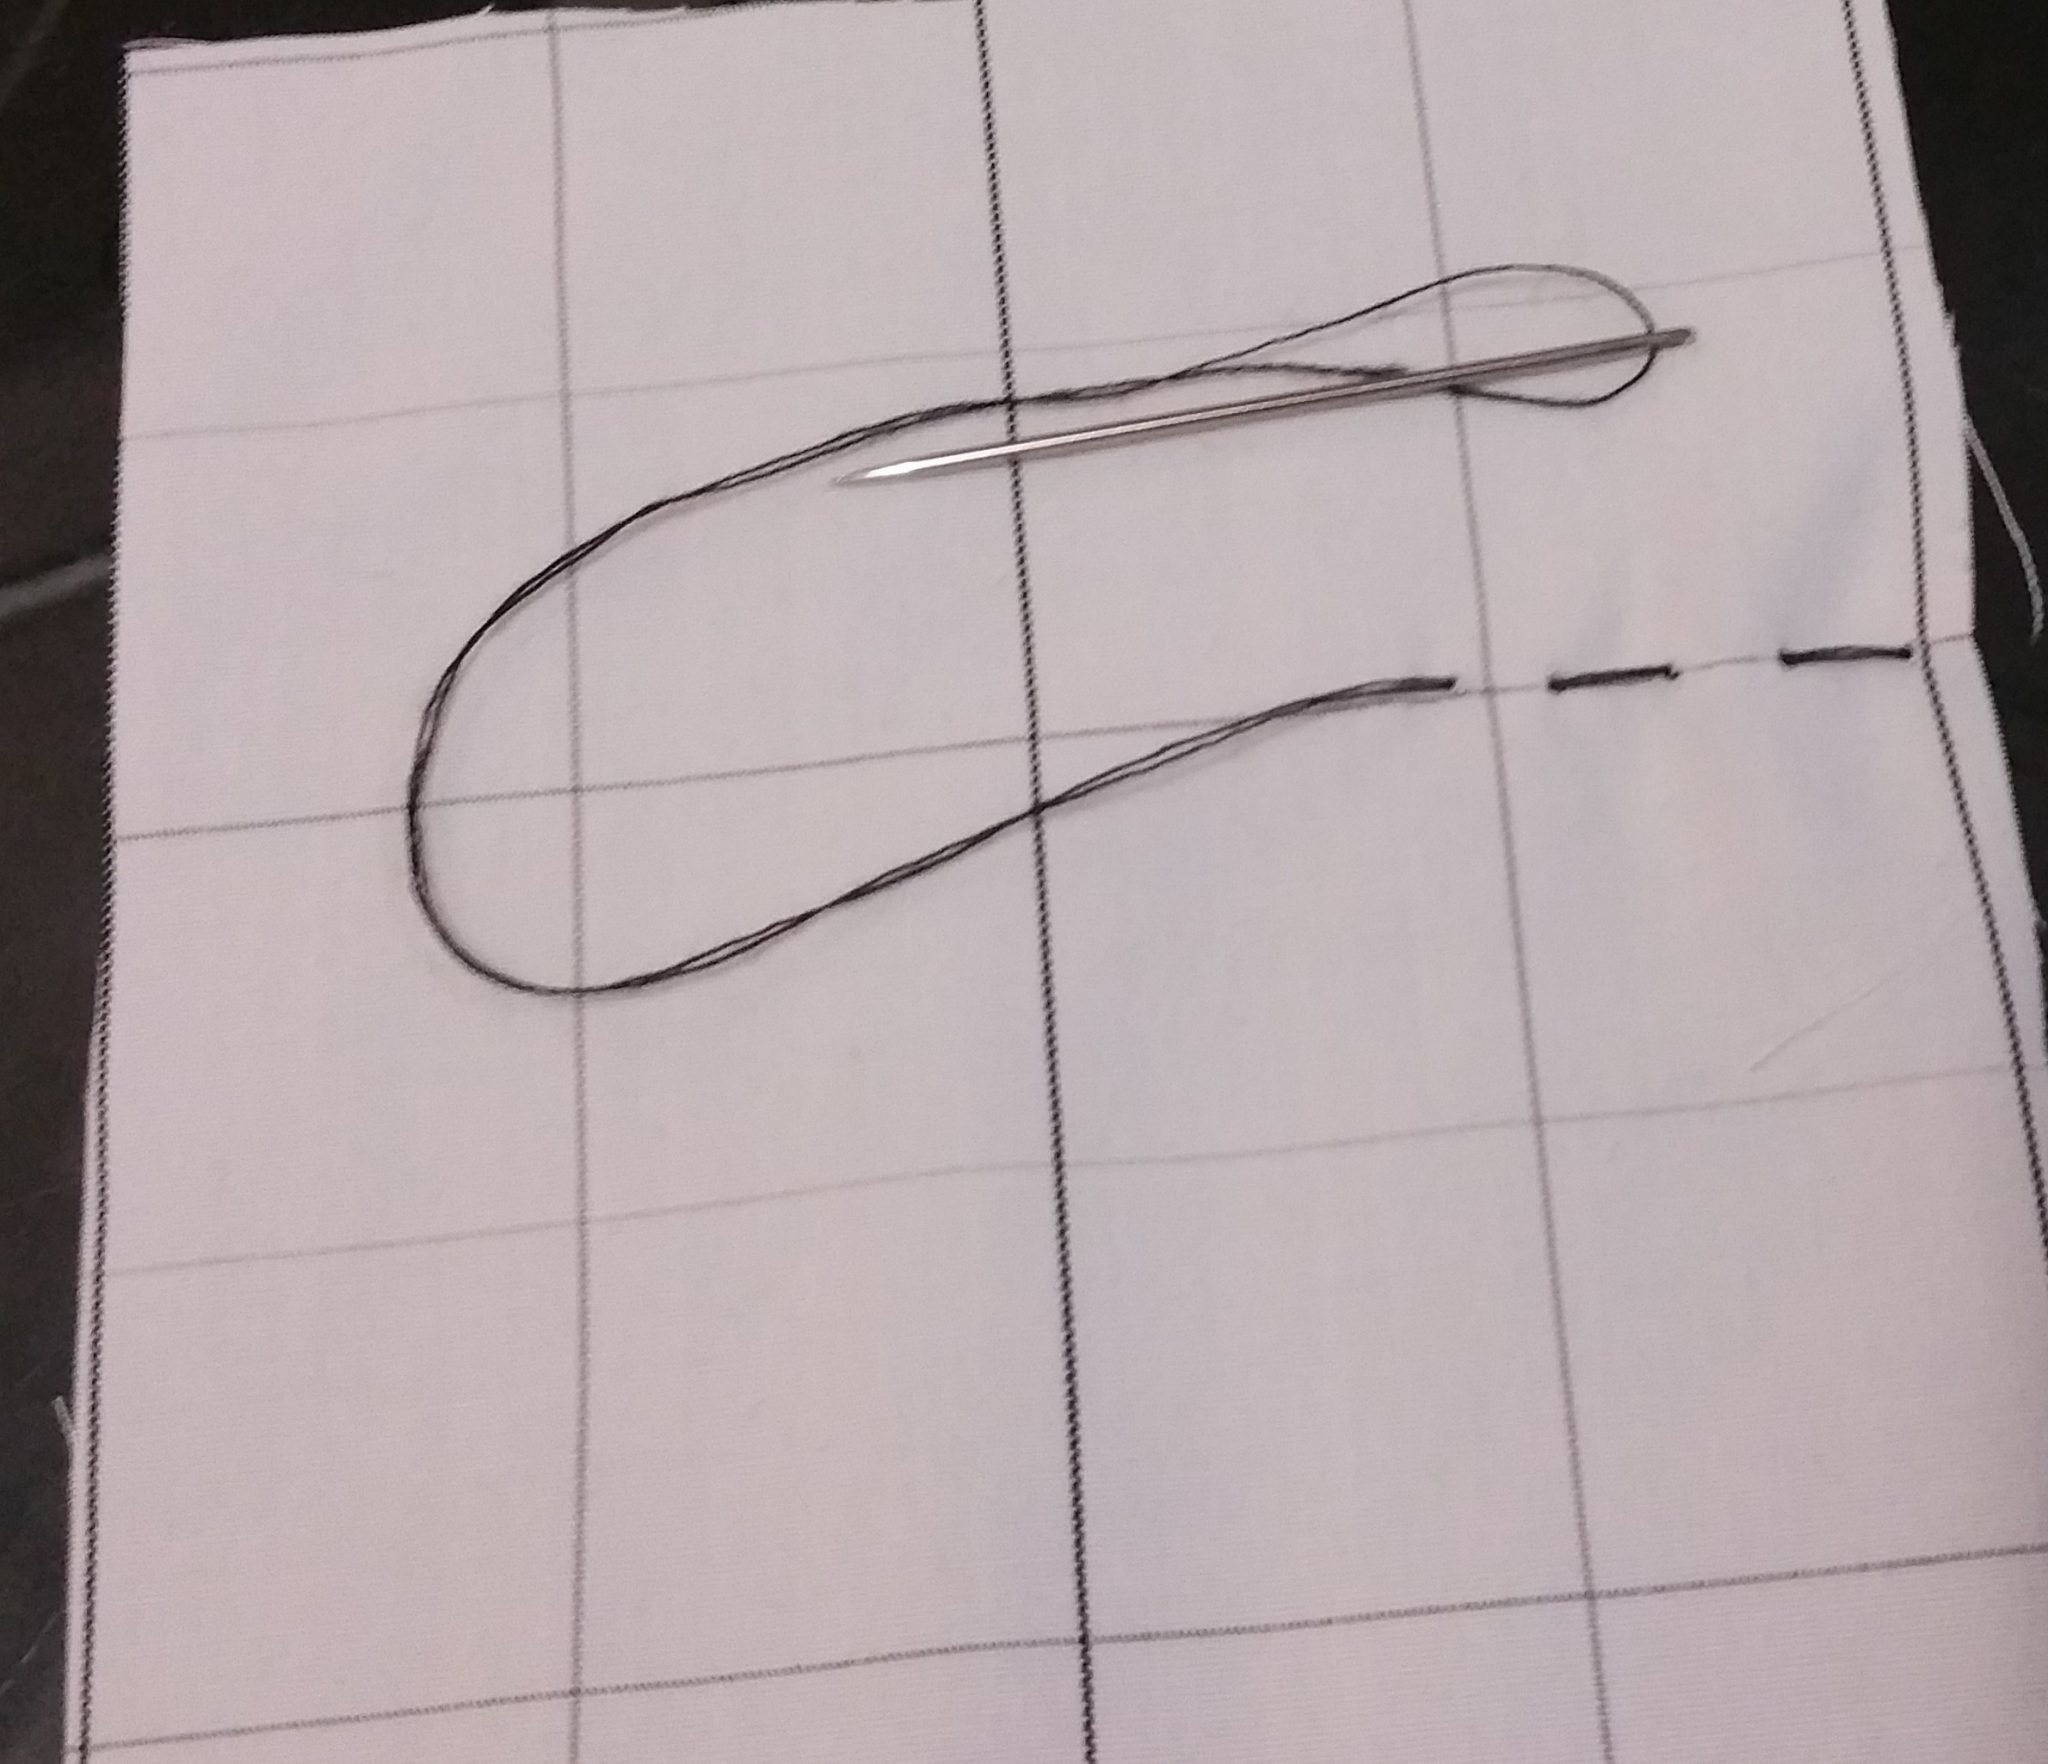
A Backstitch – This is the sturdier stitch that if I want to make sure something stays the same this is what I am going for!

the downside is it looks a little messier at the back, here is a comparison;
Tips for beginners
- Practice sewing on a material with lines to get used to the feel of sewing in a straight line (see above – the material is an old work shirt)
- To begin with use dark thread on dark colours and lighter thread on light colours so that if you make a wrong stitch it isn’t glaringly obvious.
- Start with sturdier fabrics that don’t easily tare such as; denim and thicker cottons or linen
- Keep old clothes to practice!
- I like to draw doodles on the fabric and then stitch them on to practice stitching and accuracy before trying a difficult project.
- I like to experiment by sewing different materials together and making little pouches (which then hold more material off-cuts to practice with)


My First experiment that now holds my other swatches
*Note: Hand sewing requires concentration and patience because it takes a hell of a lot longer to hand sew than with a machine BUT it is very rewarding when you’ve made a creation and know you did it all by hand (Aren’t you clever). *
I think you’re ready to take a look at some of my sewing tutorials to make gifts or just have some fun personalising/jazzing up your old stuff 🙂
Why not try the “Wine Bottle Gift Pouch” project next.
For more projects follow our “Sewing Projects” Pinterest Board
Do you have any beginner sewing tips or questions? leave them in the comments. If you found this helpful then pin or share it 🙂
8 comments on “Hand Sewing Tips and Info”
Comments are closed.
Woah! I’m really enjoying the template/theme of this site.
It’s simple, yet effective. A lot of times it’s
difficult to get that “perfect balance” between usability and appearance.
I must say you’ve done a excellent job with this.
Additionally, the blog loads very quick for me on Safari.
Excellent Blog!
Thanks so much!, it is a recent change and I think I shall stick to it 🙂
naturally like your web site but you have to check the spelling on several of your posts. Several of them are rife with spelling issues and I find it very bothersome to tell the truth then again I will certainly come back again.
Thank you for your feedback! whereabouts have you found some spelling errors and I will certainly look into it?
Thank you 🙂
Hello, I enjoy reading all of your article. I like to write a little comment to support you.